
Home
Tutorials Index
Tutorial - First Steps Inside the Editor
In this tutorial you will learn the editor basics.
Difficulty: Easy
Time Required: 5 Minutes
Step 1
Start the editor mode from the main menu by clicking on Editor
Step 2
Become familiar with the editor's user interface layout. At the top you will see the menu bar with global editor options...

Menu Bar
Below the menu bar is the tab bar...

Tab Bar
Each tab corresponds to a set of options you will see on the left of the editor screen. The following image shows the Park Tab options...
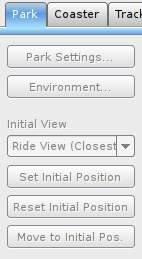
Park Tab Options
The biggest part of the editor screen
is occupied by the viewport. Initially, there is nothing to be displayed, so the viewport is a solid gray area at this moment.
At the top of the viewport are some options (Grid, Snap, ...) which affect the editing inside the viewport. We will address those options later.
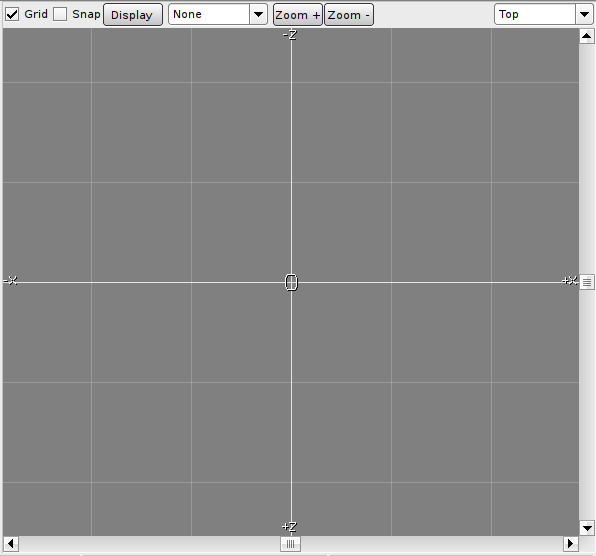
Viewport
At the bottom of the screen is the status bar.

Status Bar
The Status Bar displays some usefull information about the current edit mode, the number of selected objects and the cursor position.
Step 3
Create a new and empty park, by opening the File sub menu from the menu bar and choose New. You should see the following window:
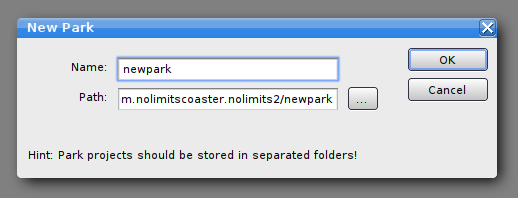
New
Here you can enter the name of the park and the folder where the park file will be saved at on the computer's hard drive. It is recommended to store each park in a separated folder. By default, the settings will create a folder with the same name as the park inside
the com.nolimitscoaster.NoLimits2 folder. This folder is located inside the user's documents folder (Windows Vista and newer: Documents) and will be used to store all kinds of custom user files created inside NoLimits.
For this tutorial, simply use the default values and click on OK. A new park will be created with the name newpark and will be stored at 'Users\<current user>\Documents\com.nolimitscoaster.NoLimits2\newpark\'.
This folder will also be used as the base folder for all files the park is going to reference (such as preview pictures, custom car textures, custom scene objects, custom terrain textures, scripts etc.).
Step 4
Once it is done creating the new park, you should see an empty park inside the vieport...
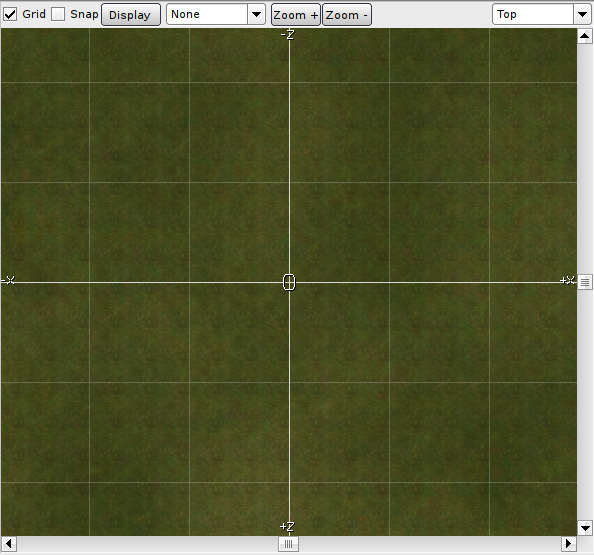
Viewport with Empty Park
The viewport can display the park from different views. The default view is Top View, this corresponds to displaying the park as if you looked from above downwards. The view type can be changed by the selection on the upper right corner of the viewport...
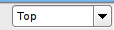
View Type Selection
Step 5
Now we want to create a new coaster. We first need to switch to the coaster tab. Click on Coaster inside the tab bar. You should see the options of the coaster tab now...
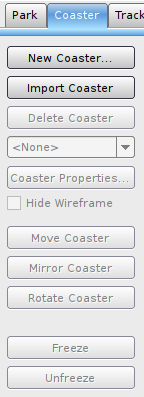
Coaster Tab
Click on New Coaster. A window will come up where you can enter the name of the coaster. Enter a name, e.g. 'My First Coaster', just be sure to not leave the name empty. Each coaster needs to have a name. The name does not matter, you can change the name later on.
Step 6
Now save the park, by selecting Save from the File menu. We will continue to work on the coaster in the next tutorial.
After saving, you may leave to the main menu using Leave Editor from the File menu. Note that the park stays opened and keeps being ready to be entered in Play Mode.
If you want to play a different park in Play Mode, you need to manually close the park inside the editor by selecting Close Park from the File menu.
This tutorial ends here and you learned how to create an empty park and coaster inside the editor. Continue with the next tutorial, which will show you how to add some tracks to the coaster.